

A while back it wouldn't have even occurred to me to make yogurt. I know that my dad has done it for years but I just thought it was just going to be one of those things that I would get to, ya know, "later." Well, recently I have taken to making my own granola for breakfast. And where there's granola, inevitably, there's yogurt.
As I started buying yogurt to go with my deliciously fresh homemade granola, I realized how artificial it tasted. It's got added sugar and flavor and wasn't something I wanted to keep feeding my family. So, I went back to a recipe I printed and used a couple of years ago, called my dad for some extra tips and I stood armed to make yogurt again.
I couldn't believe how easy it was. It's not even really a recipe, it's basically just a method. The end result is just delicious. It tastes so clean and fresh because there's nothing artificial in it.
What you'll need:
Heavy pot
thermometer
large bowl
milk (don't use less than 2% or you'll have to add thickeners)
3 Tbsp. starter-store bought plain yogurt with live, active cultures
2 quart jars, sterilized (you could use several pint jars as well; glass or plastic work fine)
heating pad
towels
Step 1

Heat 1 quart of milk to 185° F. There isn't really a need to stir. The milk will scald a little and there will be some that gets stuck on the bottom of the pot. Just leave it, don't scrape it off.
Step 2

Remove from heat and allow to cool between 105° F and 115° F. I let it cool in a separate bowl, you can let it cool in the same pot you heated it in but it may take a little longer. As you can see I'm using a probe thermometer (digital) and a candy thermometer just to see the difference; I'm sure whatever you have will work fine.
Step 3
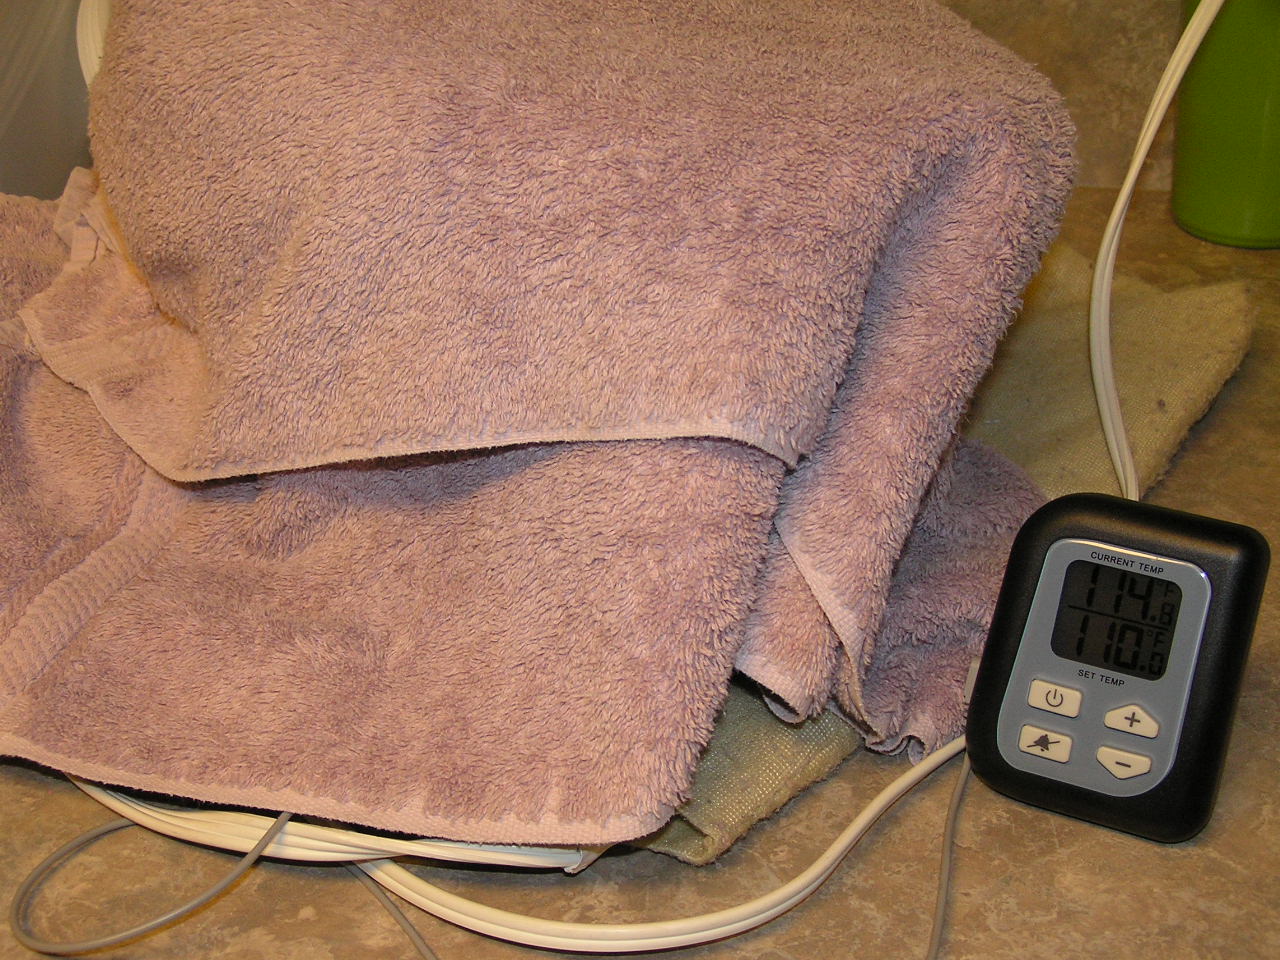
Once it's between 105° F and 115° F, add your yogurt starter and stir it in until it's incorporated. Then, pour the mixture into your sterilized quart jars (I kept mine in the same bowl, but it's probably better if you put it into smaller containers). Cover the containers with lids, place them over a heating pad and cover tightly with some towels. You can either stick the thermometer just right inside under the towel or, if you have a probe, you can stick it in the yogurt. Monitor the temperature to make sure the heat stays at about 110° F, and adjust, if necessary. If you don't have a heating pad, you stick the yogurt in a picnic cooler and wrap it in a towel.

Step 4
The yogurt will take several hours to incubate. Check it after 3-4 hours to see if it's thickened yet. Note: Your yogurt will not be as thick as what you get at the store, don't expect it to be solid.


When the yogurt curd has formed, you will notice that the whey will have pooled a little on the top. You can stir some or all of it in, as it is very healthy for you. Store your yogurt in the fridge.
Enjoy your yogurt with fresh fruit, a little sweetener, applesauce and cinnamon or more savory like a tzatziki sauce.
If you want thick yogurt, like Greek-style, you can let it sit in some cheesecloth over a colander for several hours. Don't throw the whey out! Here are some cool uses for it.
No comments:
Post a Comment