Right before my birthday this year I posted on facebook a couple of times that I was getting ready to choose my birthday cake. Usually it takes about a month (the time frame between my husband's birthday and mine) to decide but this year seemed busier than usual and my birthday was getting closer and I still didn't have a cake picked out. SO, a week or two before my birthday hubby and I were out to a play and waiting for it to start so I whip out my phone and we scroll through alllllllll the cakes I have pinned (seriously there's a ton!). When I saw this one, at the very end mind you, I knew it was the one. I LOVE anything s'mores and this cake looked just absolutely delicious. Plus, it's from Smitten Kitchen, so I knew I couldn't go wrong.
I was so, so happy with this cake! Luckily I was able to share with a bunch of people, otherwise I would have been in BIG trouble. I love how the cake tastes exactly like graham crackers and the ganache practically melts in your mouth, like it had been melted by the campfire. I go for a classic s'more and to me that's only with milk chocolate, which it weird because otherwise I pretty much only like dark. I really like the taste of Hershey's milk chocolate, that's what I always use when making s'mores. Feel free to use something different but whichever chocolate you choose, make sure it's good quality. Since the ganache is basically only cream and chocolate the flavor really counts.
S'mores Layer Cake
for the cake:
2 sticks unsalted butter, room temperature
2/3 cup granulated sugar
1 cup dark brown sugar
4 large eggs, room temperature
2 cups all-purpose flour
2 cups honey graham cracker crumbs (about 1 1/2 sleeves of crackers processed until it's a powder)
2 tsp. baking powder
3/4 tsp. baking soda
3/4 tsp. salt
1/2 tsp. cinnamon
2 cups buttermilk, well shaken and at room temperature
for the milk chocolate ganache:
16 oz good quality milk chocolate
1 1/3 cup heavy cream
pinch of salt
for the meringue frosting:
4 egg whites
1 cup granulated sugar
1/4 tsp. cream of tartar
1 tsp. vanilla extract
mini marshmallows, for extra garnish, if desired
Preheat oven to 350 degrees F. Grease 2 9-inch round cake pans, line with parchment paper, then grease the top of the parchment. Set aside.
In a mixing bowl, whisk together flour, graham cracker crumbs, baking soda and powder, salt and cinnamon. In the bowl of a stand mixer, beat together butter and sugars until they are light and fluffy; about 2-3 minutes. Add eggs, one at a time, beating after each addition. Add the flour mixture alternating with the buttermilk, in three additions. Scrape down the sides and mix until just combined.
Divide the batter between the two cake pans and bake about 30-35 minutes, or until a toothpick inserted in center comes out clean. Cool in pans about 10 minutes then remove from pans and cool completely on a wire rack. Wrap each cake in plastic wrap and chill in refrigerator at least 30 minutes (I typically refrigerate overnight.) *NOTE: This cake is very soft and tender, especially when it's still a little warm. When lifting and wrapping the cake be very careful so it doesn't break.
To make the ganache place the heavy cream and salt in a sauce pan and barely bring to a simmer over medium heat. Add the chocolate chips, cover and remove from heat. Let sit 5 minutes. After 5 minutes, remove lid and whisk until chocolate is completely incorporated and mixture is smooth and sheen. Transfer to a bowl and refrigerate until firm enough to spread on the cake.
To make the meringue frosting, place the egg whites, cream of tartar and sugar in a heat proof bowl. Place over a simmering pot of water and whisk constantly for about 3 minutes, until sugar is dissolved and it's warm to the touch. Transfer to the bowl of a stand mixer with a whisk attachment, or use electric beaters. Beat until stiff glossy peaks form, 4-7 minutes then add vanilla and mix in.
To assemble the cake, remove from the fridge and unwrap. Using a long serrated knife carefully slice each cake in half. Place the bottom half of one cake on cake plate. Spread with about 1/3 of the ganache. Place top half on top of the ganache and then spread another 1/3 of the ganache over that. Place the top half of the second cake top down over the second layer of ganache. Spread with remaining ganache and place the bottom half of the second cake, bottom up, on the very top. Quickly do a crumb coat with the meringue and place in the fridge about 10-15 minutes to let it set a bit. Bring it back out and generously frost the cake, with extra marshmallows for garnish, as desired. Brown with a kitchen torch. Keep leftovers covered and refrigerated.
SOURCE: Smitten Kitchen Cookbook
Some of my other favorite birthday cakes:
Cherry Chocolate Cake (#1 FAVE made this so many times!)
Chocolate Raspberry Truffle Cake
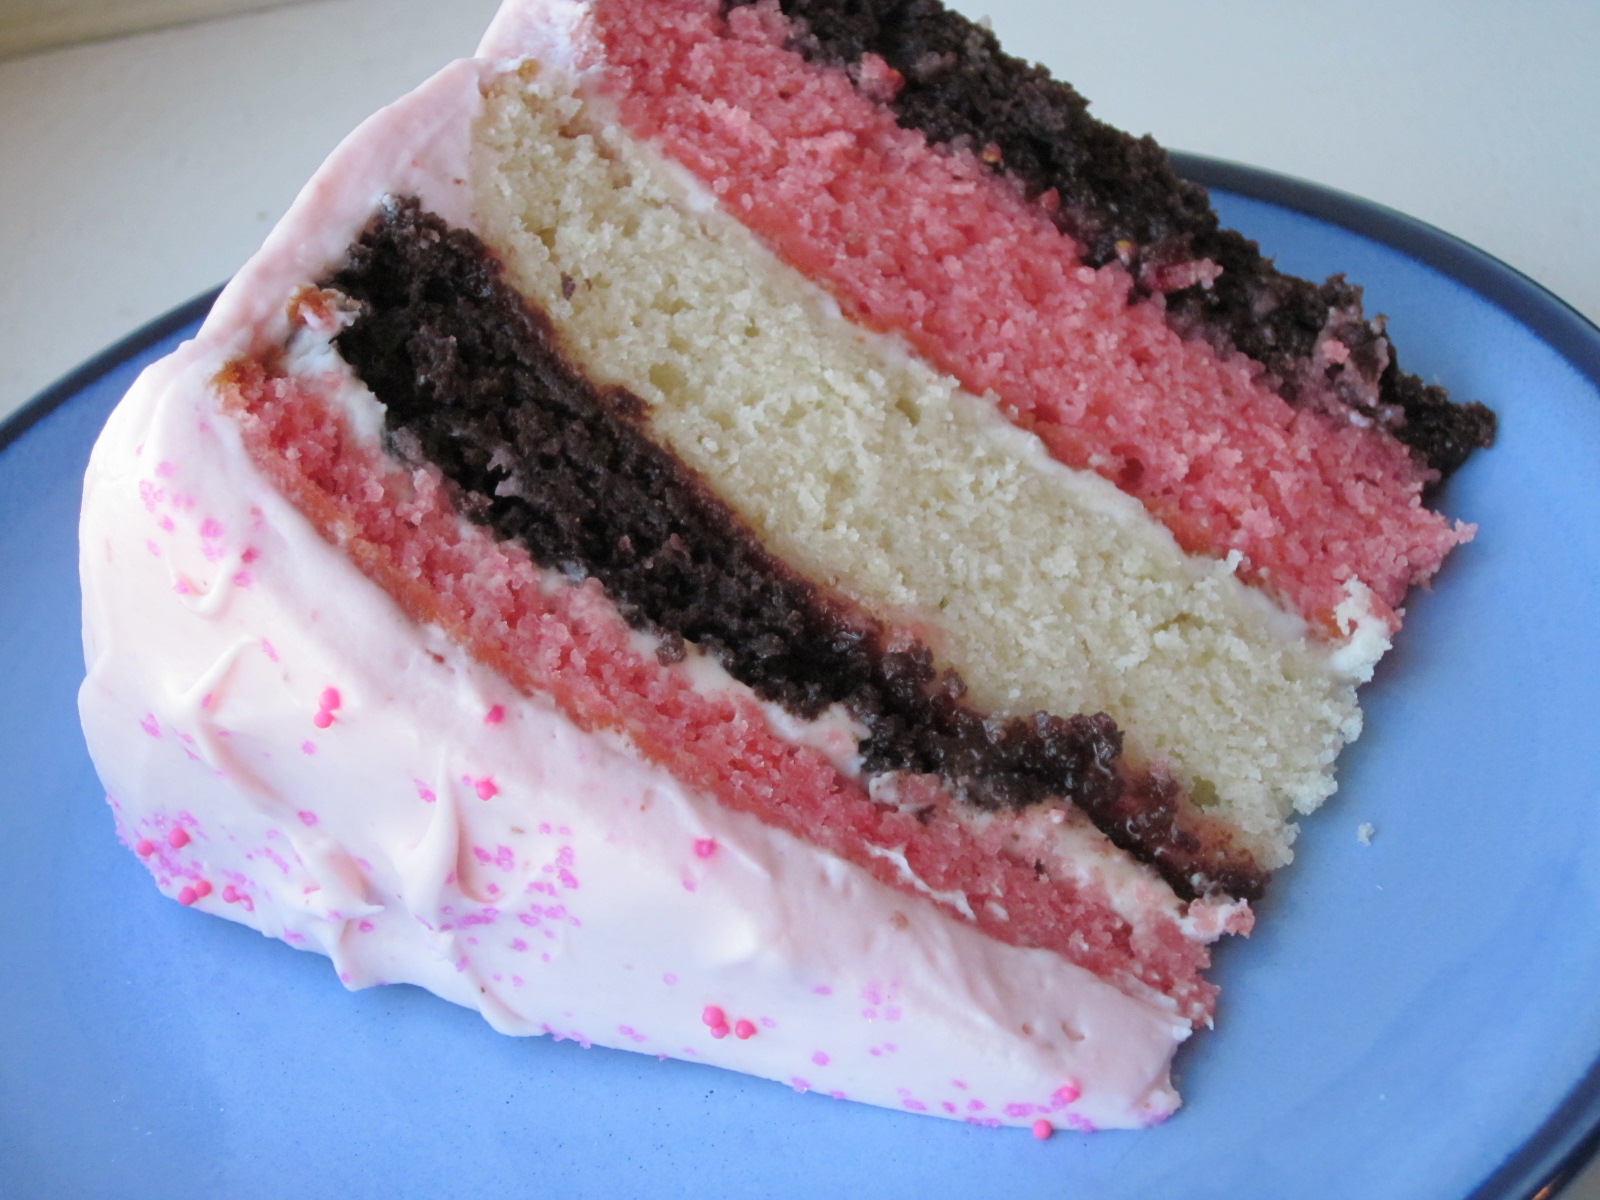
Neapolitan Layer Cake
Snickerdoodle Cake
Sweet and Salty Cake